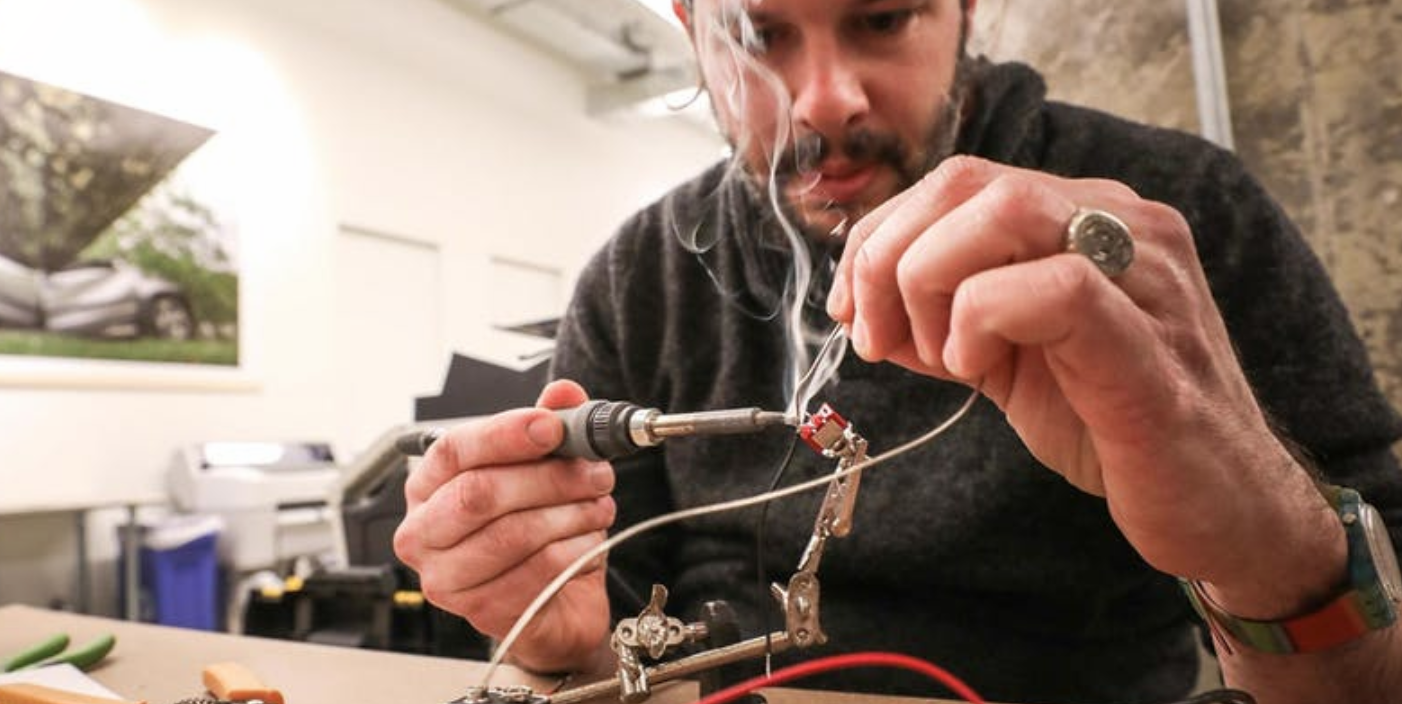
Soldering is at the core of every electronics project. In this class we will learn how to solder a point-to-point LED flashlight/hanging lamp. Instructors Gino and Diana Barzizza will show you tips and tricks to get you started on your journey into DIY electronics. Class includes introduction to electrical theory (Voltage, Amperage, Resistance) and hands-on building of a LED flash circuit using resistors, switches, LEDs and batteries. In the world of DIY electronics there is always something more to learn. This class is a first in a series in which students will build on their skills. Great class for beginners.
Suggested donation of $45 — sign up here
Class Structure
Part One
- Bread boarding Circuits and Reading Schematics
- Introduction into theory behind electronic circuit: how does it work? Students will learn about components, voltage and amperage, resistors, switches and batteries.
Part Two
- Learning to Solder: Teaching beginners how to solder and getting comfortable with handling a soldering iron. Starting with tinning a wire, splicing wires and soldering components into an actual circuit.
Part Three
- Begin soldering Circuit for LED Flashlight based on Schematic.
- Connect wires, resistors, switches and battery clips in the correct channel to turn on LED light.
Part Four
- Placing circuit in enclosure and testing circuits. Learn shop Safety and handle power tools.
- End with a good understanding of turning things on and off.
Electronics Materials Used during Class:
- Soldering iron, stand, helping hands
- Breadboard and multi-colored wires
- Solder and Red and Black Wire
- Batteries and Battery Clips
- Sponges and Steel wool
- Drill and drill press
- Wire and Jewel cutters
Next Steps:
- Practice kits to hone Soldering skills
- Identifying a wide array of Components and read Schematics
- Learn about Integrated Circuits and build blinky LED lights

